
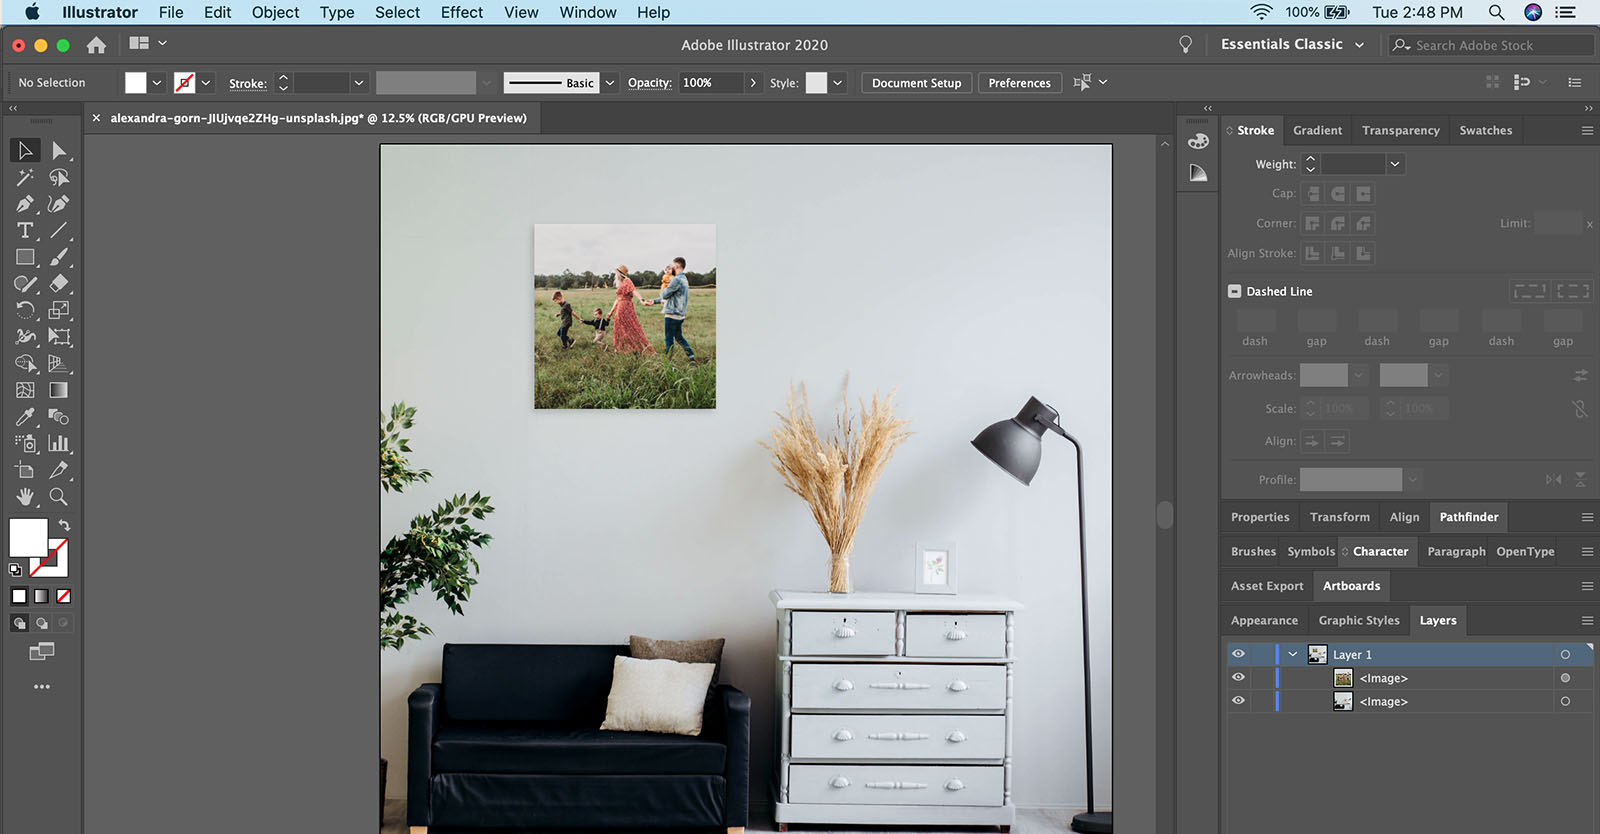
To crop an image in Adobe Illustrator, select 'File > Place' from the top menu to insert the image you wish to crop.
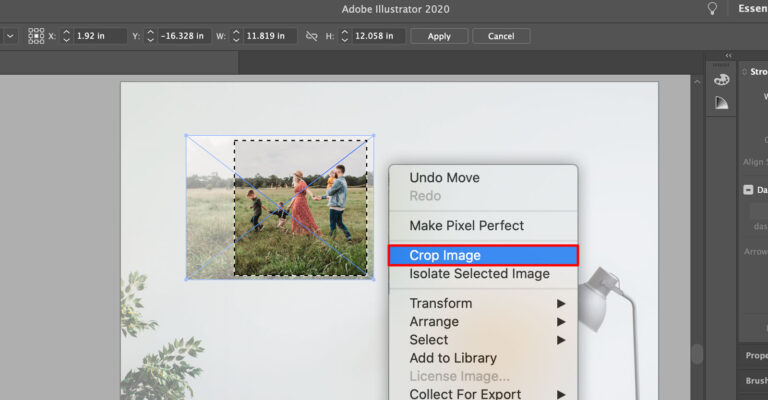
Once placed, right-click on the image and choose 'Crop Image' from the context menu. In the Tool Options menu, enter your desired values and click 'Apply', or click and drag the corners of the dashed crop window to adjust the size and shape, then press 'Enter' to finalize the crop.
If you simply want to quickly crop an image, consider using our free online image cropper, which doesn't require any registration.
Need to crop an image in Illustrator?
While Illustrator is not usually the best choice for working with raster-based images, there are still many reasons why you may need to crop an image inside your Illustrator project. Fortunately, Adobe has made the process quite easy.
Here's how to do it:
- Open your Illustrator project
- From the top menu select File > Place and choose the image you want to crop
- Right-click on the image and choose Crop Image from the context menu.
- Enter your new values in the Tool Options menu and click Apply
- Or click-and-drag the corners of the dashed crop window and click Enter
👍 Support Us: Subscribe to our channel and help us continue providing these tutorials.
🌟 Regular Updates: We publish how-to videos for Adobe Illustrator regularly!
🔧 Expert Guidance: Learn Illustrator from our professionals and uncover exclusive tips!
