
Artboards are the bread and butter of Illustrator (okay, maybe just the bread).
Almost everything you create in Illustrator will live on an artboard. When you export a project, you will also likely use the artboard to export the correct size file.
In this tutorial, we will cover the basics of creating new artboards in Adobe Illustrator.
First, we will look at how to create a new artboard as part of a new project (pretty simple). Then I will show you how to add a new artboard to an existing Illustrator project.
Table of Contents
Here’s how to do it
To create a new Artboard (new project):
- Open Illustrator
- From the launch window click the Create New button on the left side
- Or, to start a new project from the top menu, click File > New
- Setup your project size and measurement units from the New Document
- Click the Create button
To create a new Artboard (existing project):
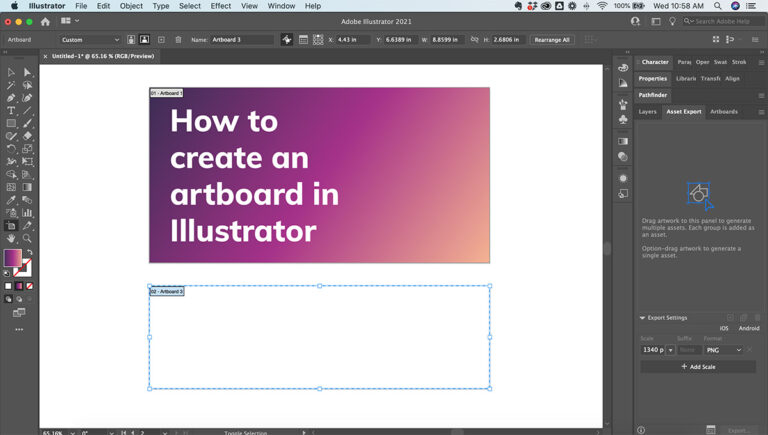
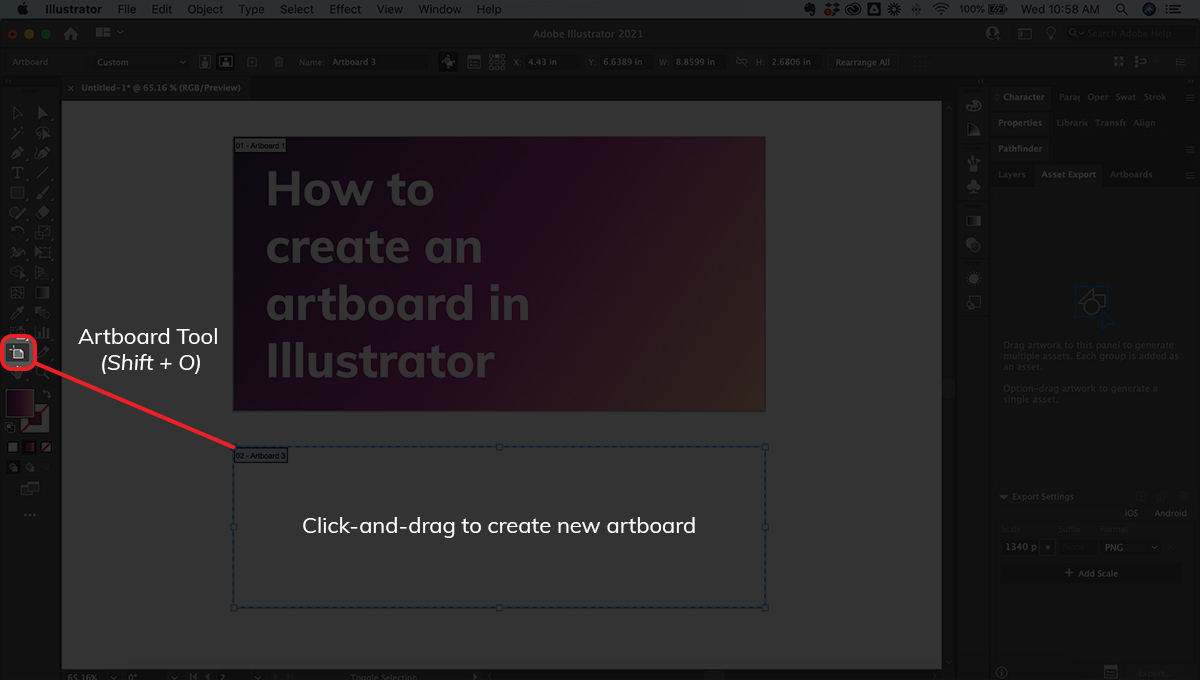
- Open your Illustrator project file
- From the Tools Panel on the left, activate the Artboard Tool (Shift + O)
- With the Artboard Tool, click-and-drag to create a new artboard in the canvas area
How to duplicate an Artboard
Now that you’ve successfully made an Artboard, here is how you can duplicate it in your project.
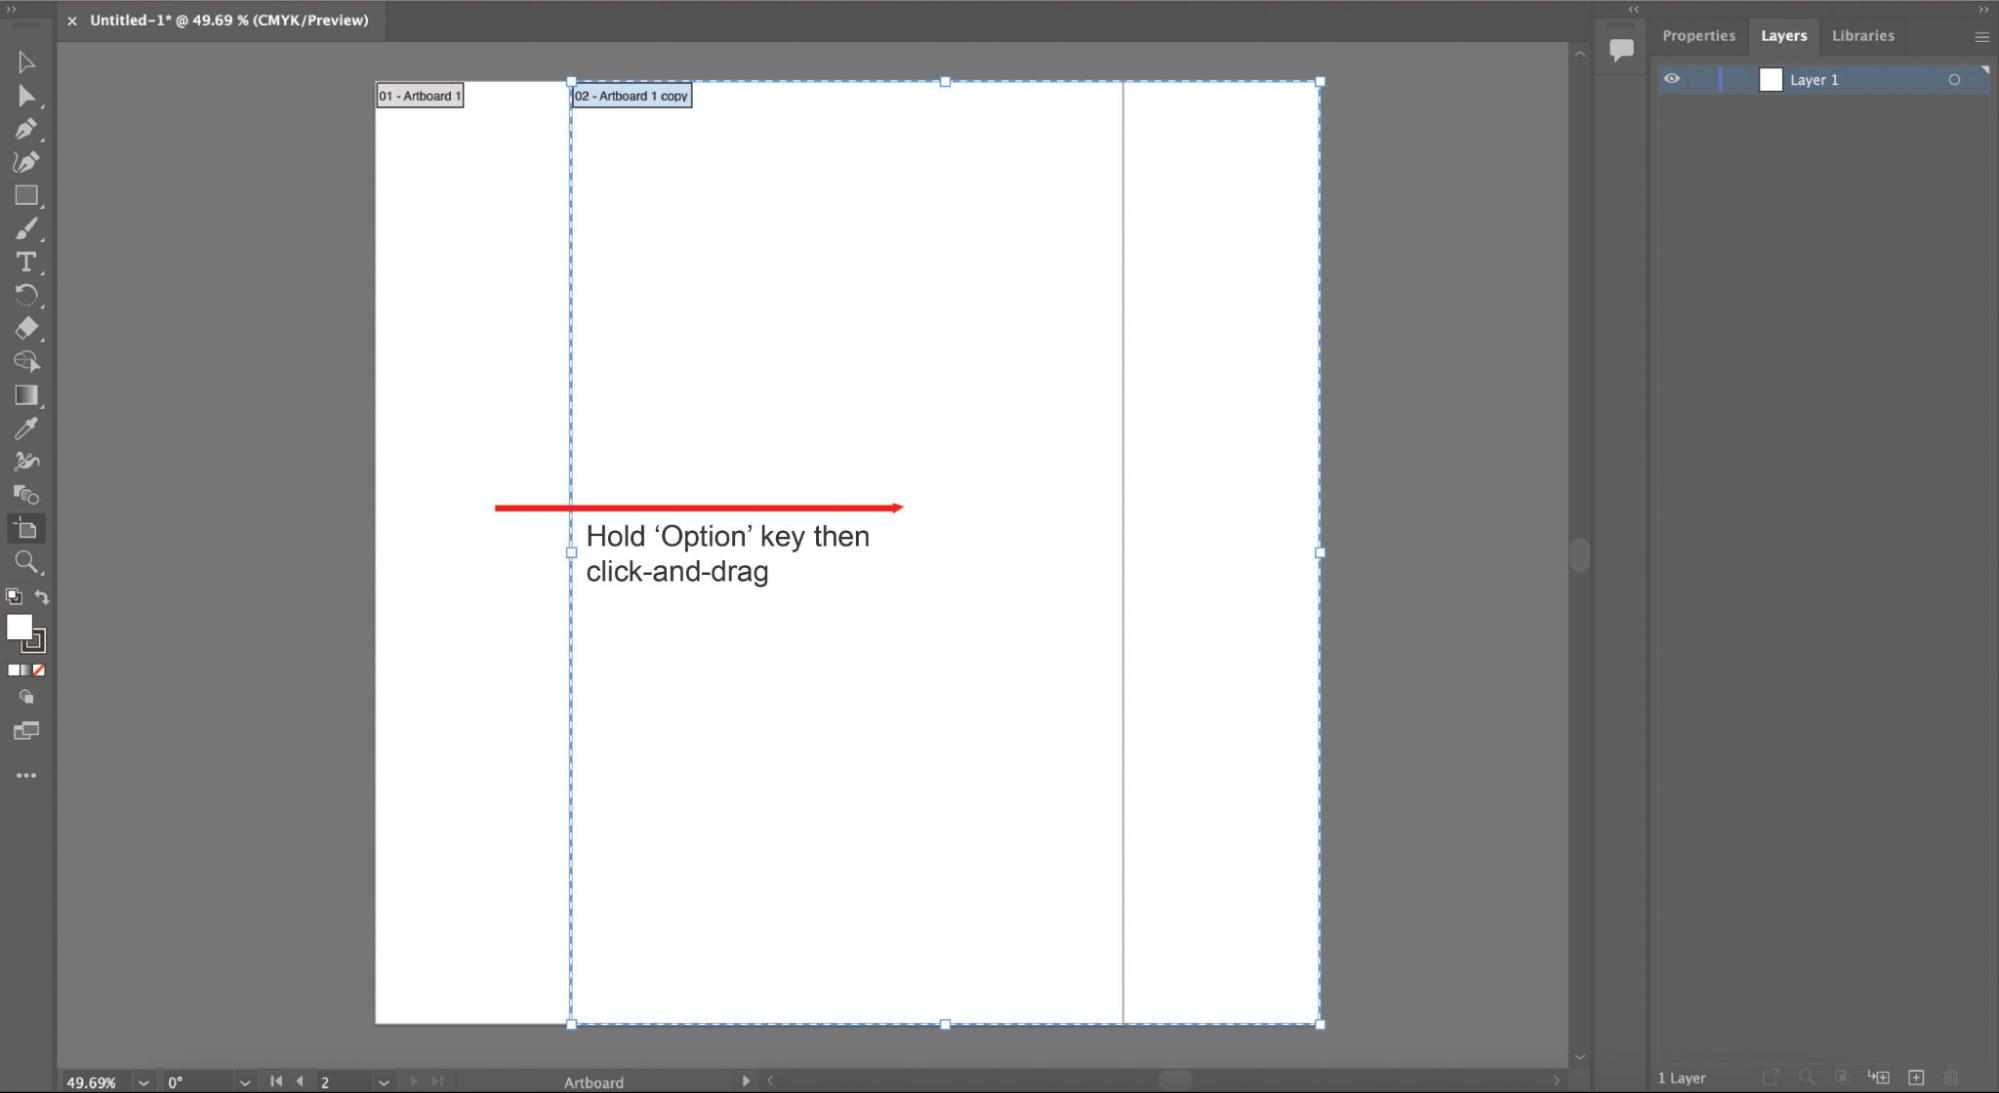
- Select your Artboard
- Hold down the Option key, then Click-and-Drag to create a copy of your artboard and all the content inside
- Be sure to hold the Option key until after you release the Artboard copy with your mouse
Alternatively, you can also do the classic Command + C then Command + V to copy and paste your Artboard.
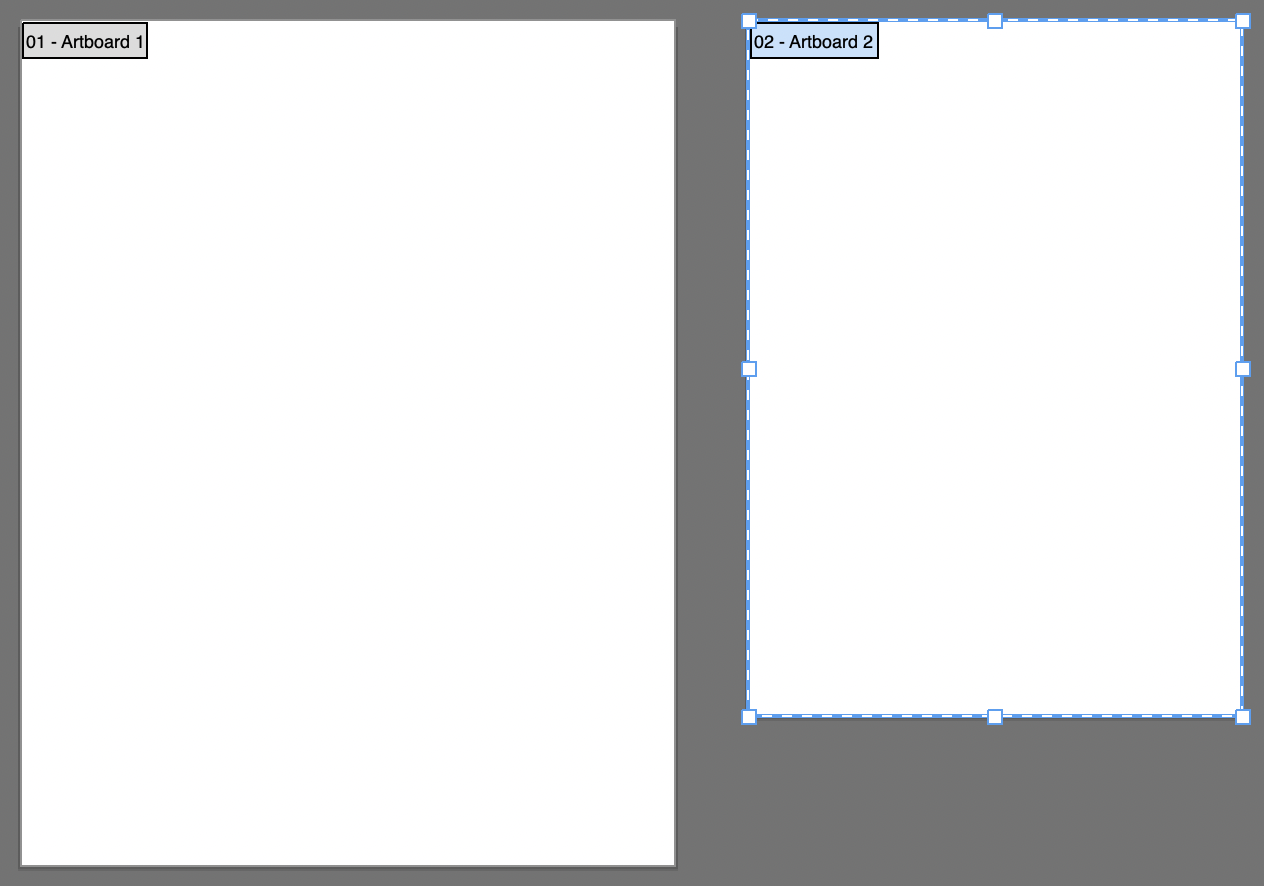
Add multiple Artboards
You can add multiple artboards to your project in two ways:
- By duplicating an existing Artboard as we just showed above
- By activating the Artboard Tool (Shift + O) then Click-and-Drag to create a new artboard
You can add as many Artboards as you like to a project, which can help you stay organized while working on bigger projects.
Pro-tip: you can export individual Artboards from a project, you do not have to export the whole project if you don’t want to.
Simply select the Artboard you want to export, right-click and select ‘Export Selection’ from there you will be directed to the export settings for that individual Artboard.
Or you can click Option + Command + ‘E’ and select the individual Artboard you want to export.
How to add Artboards on Mac vs Windows
One of the biggest differences of using Illustrator on Mac versus Windows is the keyboard shortcuts.
Certain actions need different key inputs, for example, if you want to copy and paste an Artboard:
- On Mac: Click ‘Command + C’ then ‘Command + V’
- On Windows: Click ‘Ctrl + C’ then ‘Ctrl + V’
To create a new Artboard the process is the same on Windows as it is on Mac.
The shortcut to activate the Artboard tool (Shift + O) is the same on both platforms.
If you would like to see all the differences in keyboard shortcuts on Mac versus Windows, click here.
Adjusting Artboard settings
Once you have as many Artboards as your heart desires you may want to adjust certain settings, such as the size or orientation of an Artboard.
The simplest way to change the settings of an Artboard is to simply select the Artboard and on the righthand side this panel will appear:

From this panel, you can easily change the size, name, and orientation of your Artboard.
If you wish to change more complex settings, click the ‘Artboard Options’ button at the bottom of the panel to see the details there.
You can also manually change the size of any artboard.
For example, once you select an Artboard a blue border will appear, you can click-and-drag from either the corners or sides of the Artboard to manually change the size.
To change the settings of multiple Artboards at a time:
- Hold ‘Shift’ and select the Artboards you wish to adjust
- Utilize the panel on the righthand side to adjust the settings
- Or manually adjust the size by clicking-and-dragging the blue border
Pro-tip: If you make any adjustments you don’t like, you can easily undo them by clicking ‘Command + Z’
👍 Support Us: Subscribe to our channel and help us continue providing these tutorials.
🌟 Regular Updates: We publish how-to videos for Adobe Illustrator regularly!
🔧 Expert Guidance: Learn Illustrator from our professionals and uncover exclusive tips!
